Anet-A8
In order to make this printer really perform well, required a series of upgrades..
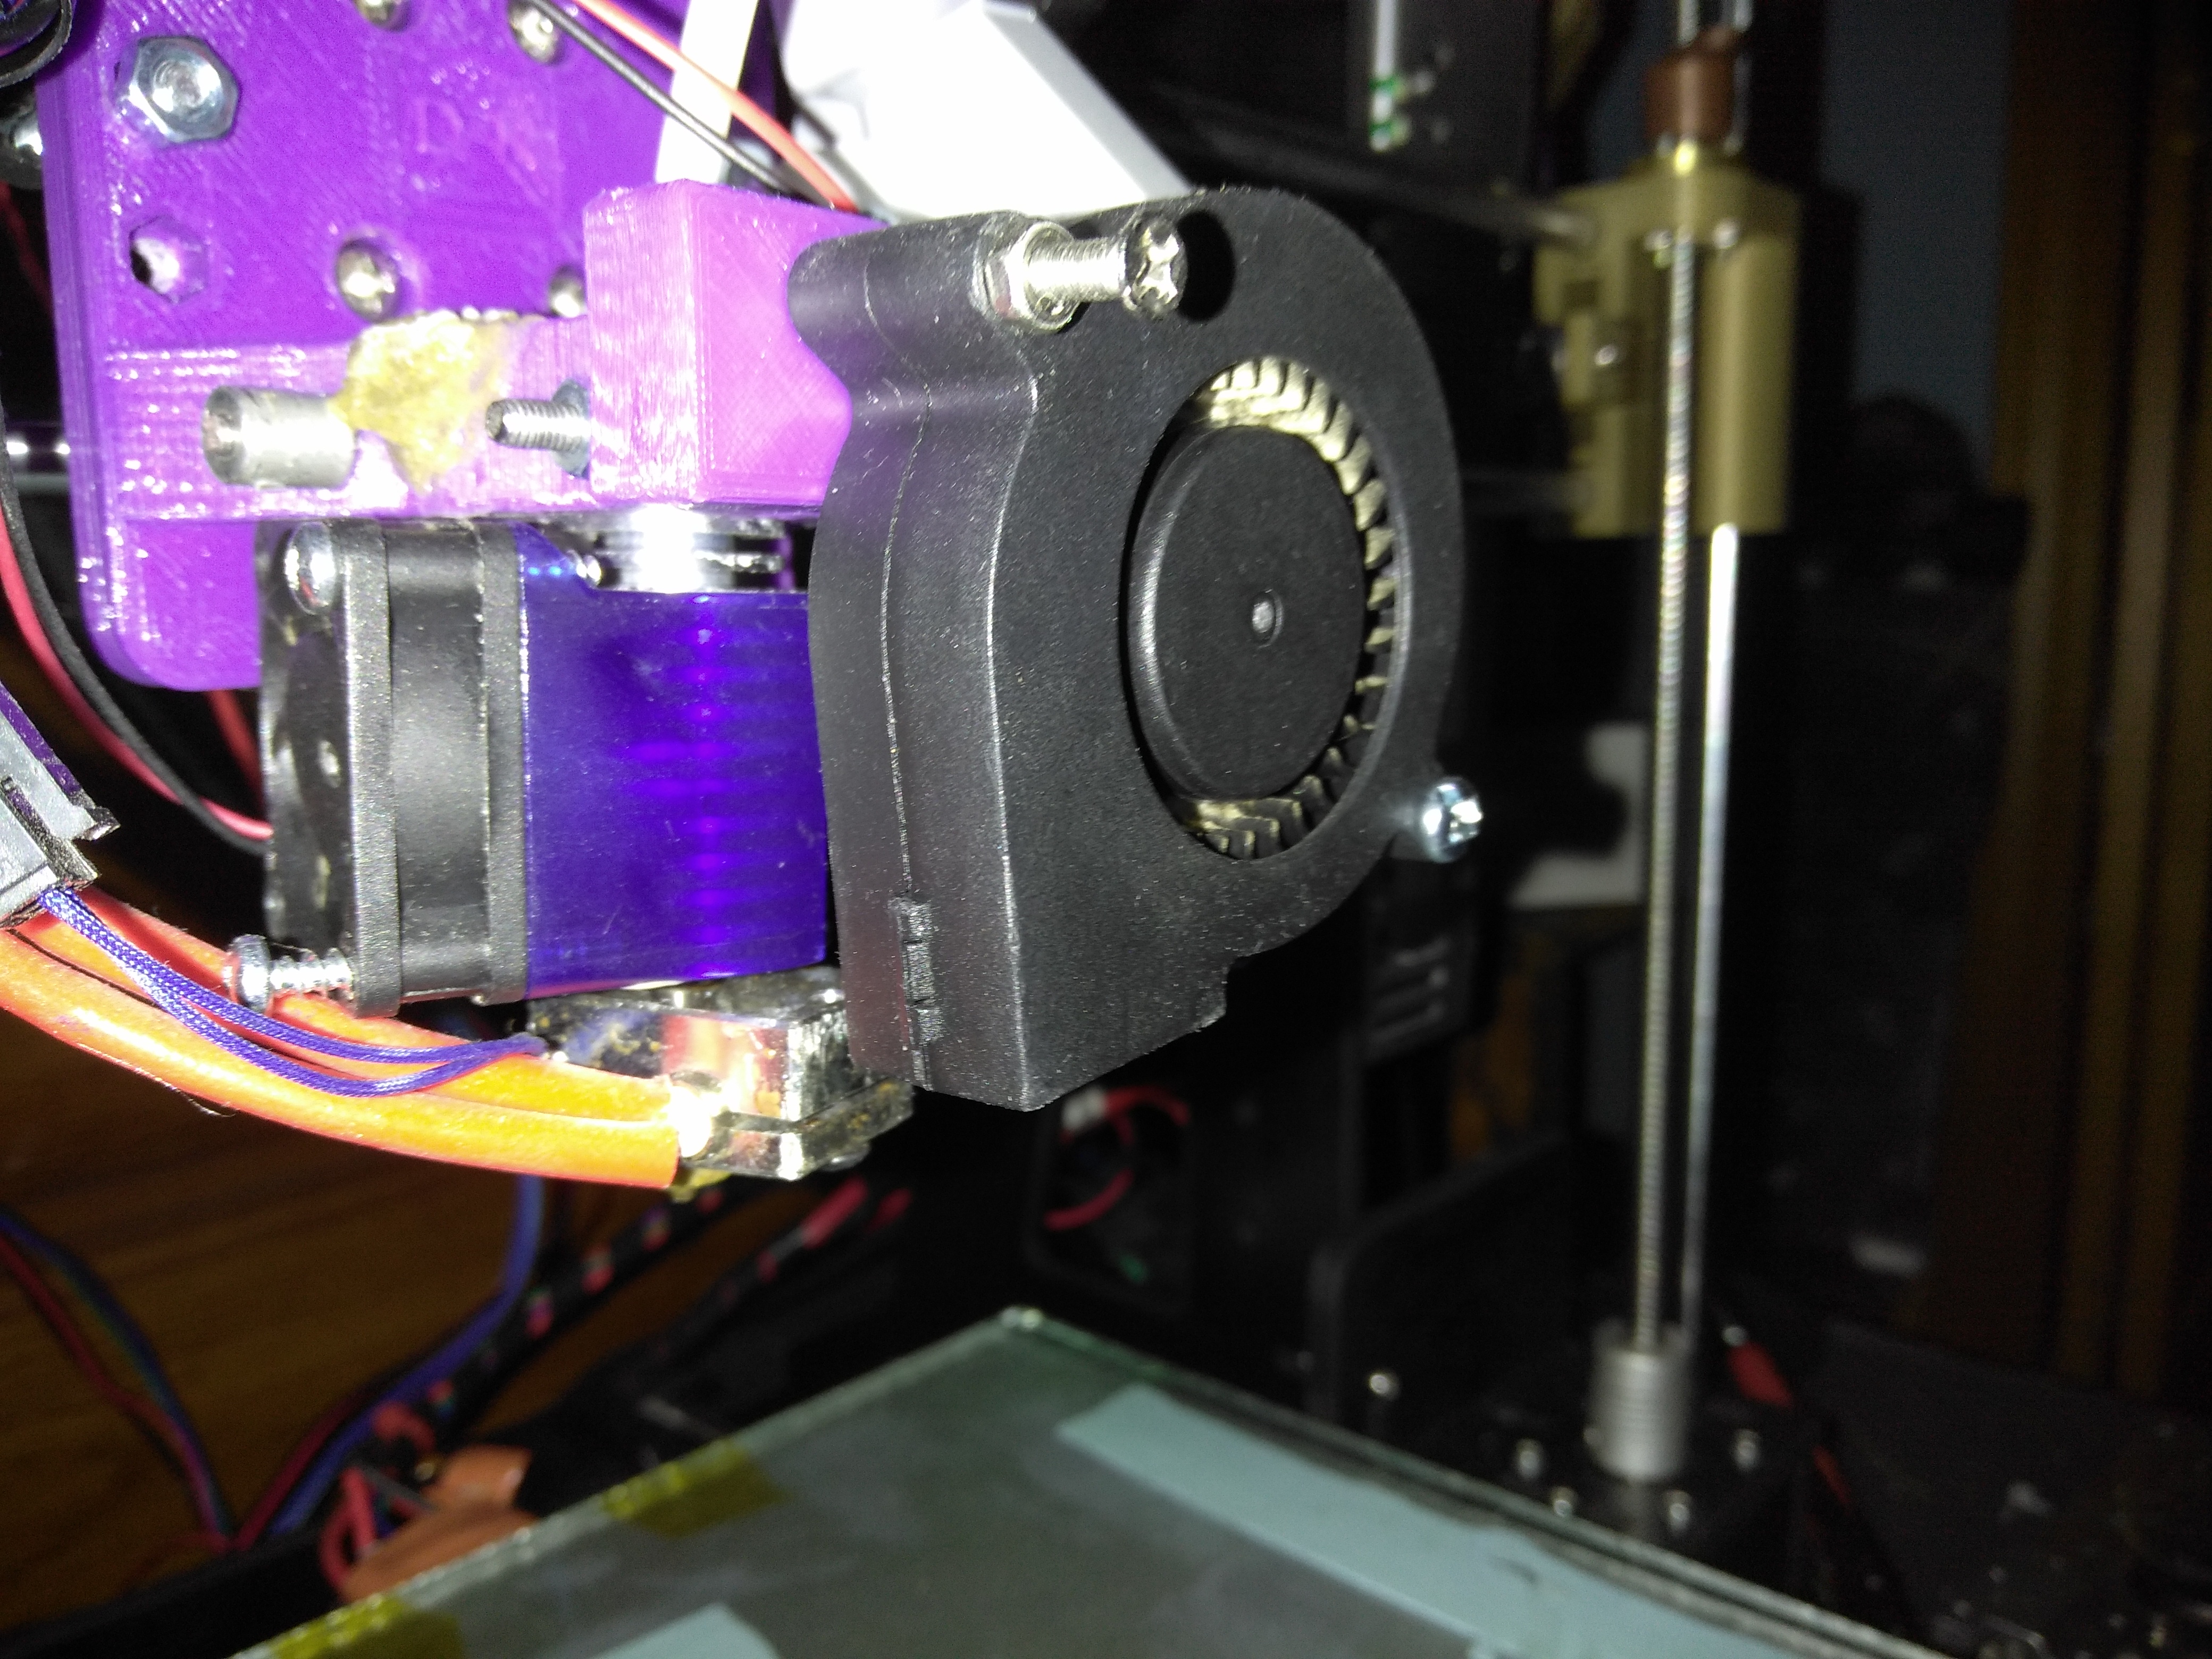
E3D V6 Hotend
The E3D V6 Hotend is probably the most cruicial upgrade here. The hotend in the industry is a huge leap forward in hotend design. There are many models you can get from the company, the V6 is the front in leading design. With a large heatsink, you don't need to worry about overheating your inner-PTFE tubes in the heat break even at 240°F, which is the melting point of PTFE and it's not recommended either way unless it's for testing purposes. You may also pick up aftermarket parts so you can use a polished metal heat break without a PTFE tube. This is required if you plan on using materials that require a hotter end than 240°F.
Common examples are Nylon, PET, PC Polycarbonate, PETT, PMMA Acyrlic, FPF, or Carbon Fiber mixes. Filaments
The fan directly on the hot end is a 12V fan that may be wired to always be on, or you may run it through your board but it is recommended to rework your machine so that it doesn't carry high voltage or high amperes.
X-Axis Carriage
The X-Axis carriage is another important part. It is a 3D printed part with the original X-Axis carriage that had the extruding stepper motor, with an aluminum frame. The stock weight of the carriage is around 400 grams, nearing 1 LBs in weight. With this I am able to achieve higher speeds upwards of 80mm/s without losing very much quality as it is very light, with the V6 hotend, the weight is only around 90 grams. Behind the X-Axis carriage, are the smooth straight rods. Instead of using the stock LM8AUU metal ball bearings, I have replaced all axis bearings excluding Z-Axis for dense polymer bearings. This has helped prevent vibrational inaccuracy as well as reduce the overall noise of the machine.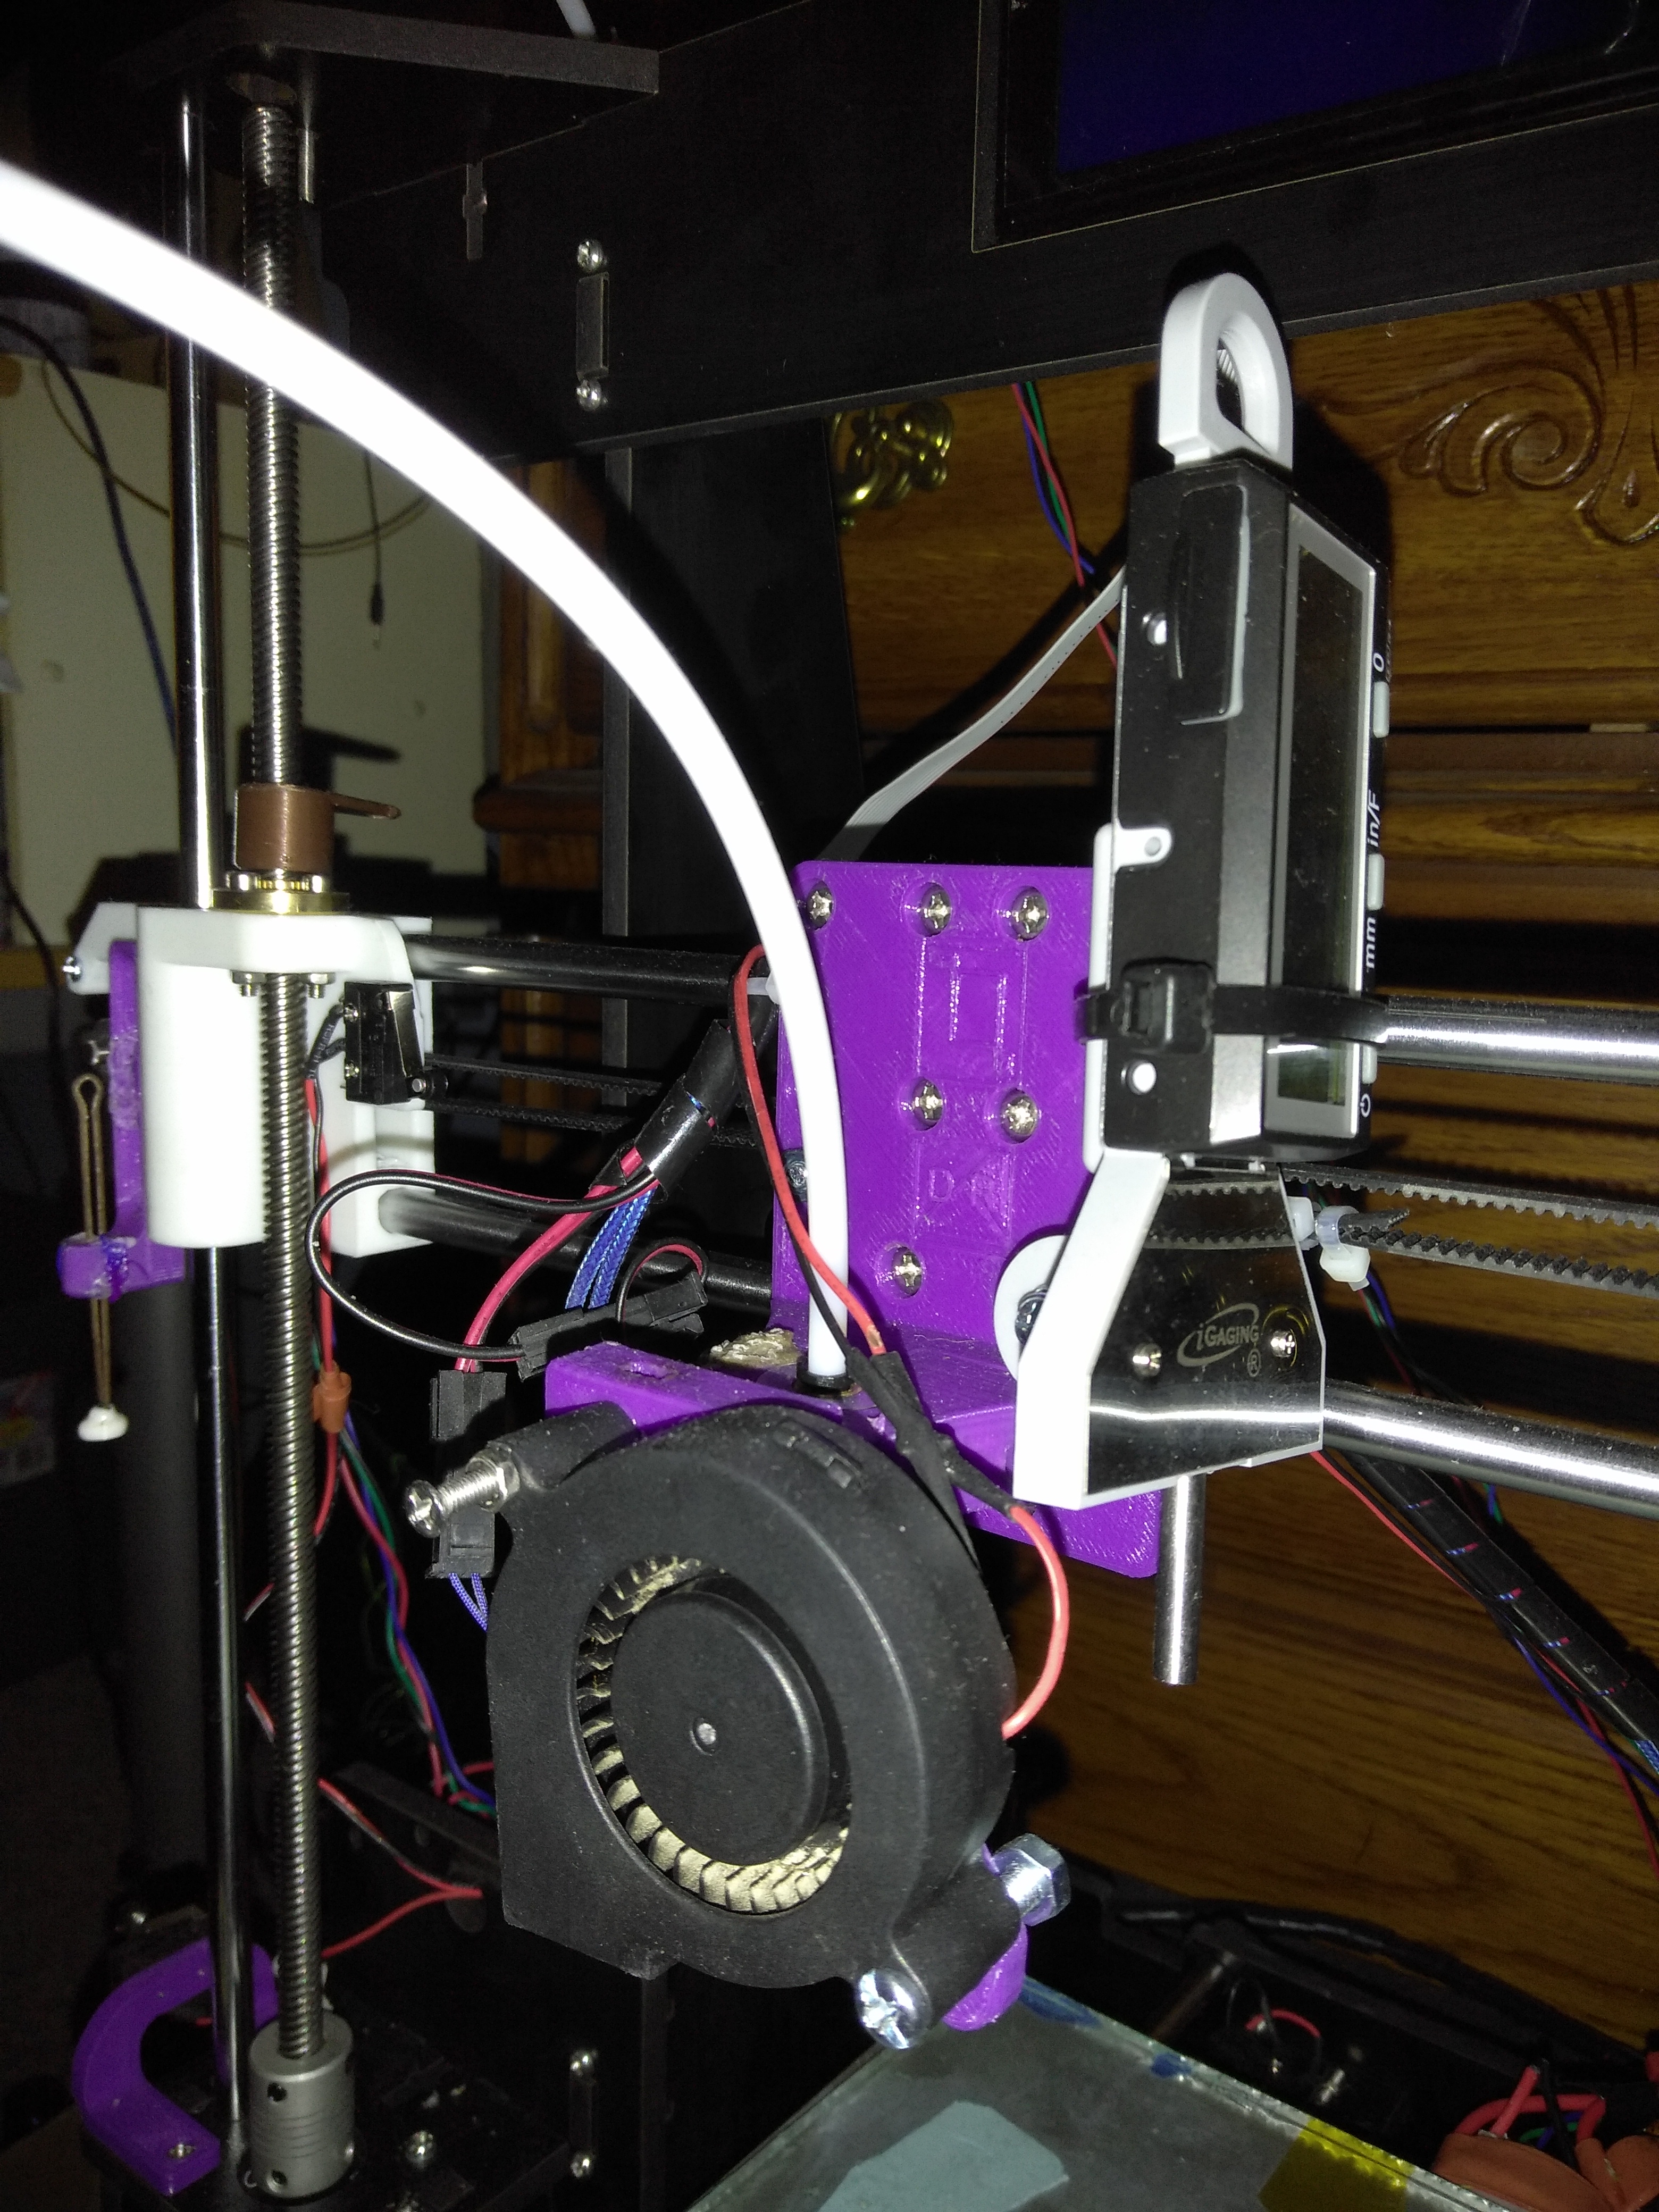
Bed Levelling
In order to achieve an appropriate level height and a level bed is very important in your prints. If you do not have a levelled bed, your print will not come out correctly and you will have to start all over again - this wastes time and materials. I have come up with a simple solution that is better than an auto-levelling sensor which always requires a mechanically levelled bed anyways. You may see in the picture to the right that on the X-Carriage, is a "Depth Height Gauge Dial Indicator". This lets me know within the thousandth of an inch if my bed is level or not. I have thumbscrews below the glass bed I may tighten or loosen to get the desired height.
Another very important piece is the Z-Min switch. Though straggly looking, and repaired with my son's fantastic 3D pen, this hits the Z-Min switch according to the adjustment of the foot. This is another way to ensure your bed is level, and is very handy on the fly when you already know the bed is mechanically level to adjust your layer height.
Another very important piece is the Z-Min switch. Though straggly looking, and repaired with my son's fantastic 3D pen, this hits the Z-Min switch according to the adjustment of the foot. This is another way to ensure your bed is level, and is very handy on the fly when you already know the bed is mechanically level to adjust your layer height.
Melamine Frame
Melamine used to be a widely used as Kitchenware until people started to realize the dangers in the making process. It is more robust than Acrylic, which is what my frame used to be made out of until I received a Melamine kit. The frame is very important. Although it is a step down from a metal kit, it helps dampen vibrational inaccuracy that may show in a printed part.

The Table
The table is made out of leftover plywood my from Son and I's project where we made a spear house. It is 5/8" plywood, wrapped in 12oz PVC coated poly/cotton. It is water repellent and mildew resistant. It may be over kill, but it is padding for the printer in which it sits on. I have 3D printed a "J-hook" that wraps around a metal part of the Y-Axis frame that is screwed down into the plywood and canvas. This also helps dampen vibrational inaccuracies and prevents the whole unit itself from jumping around. This is required when printing at higher speeds, high acceleration and jerk settings.
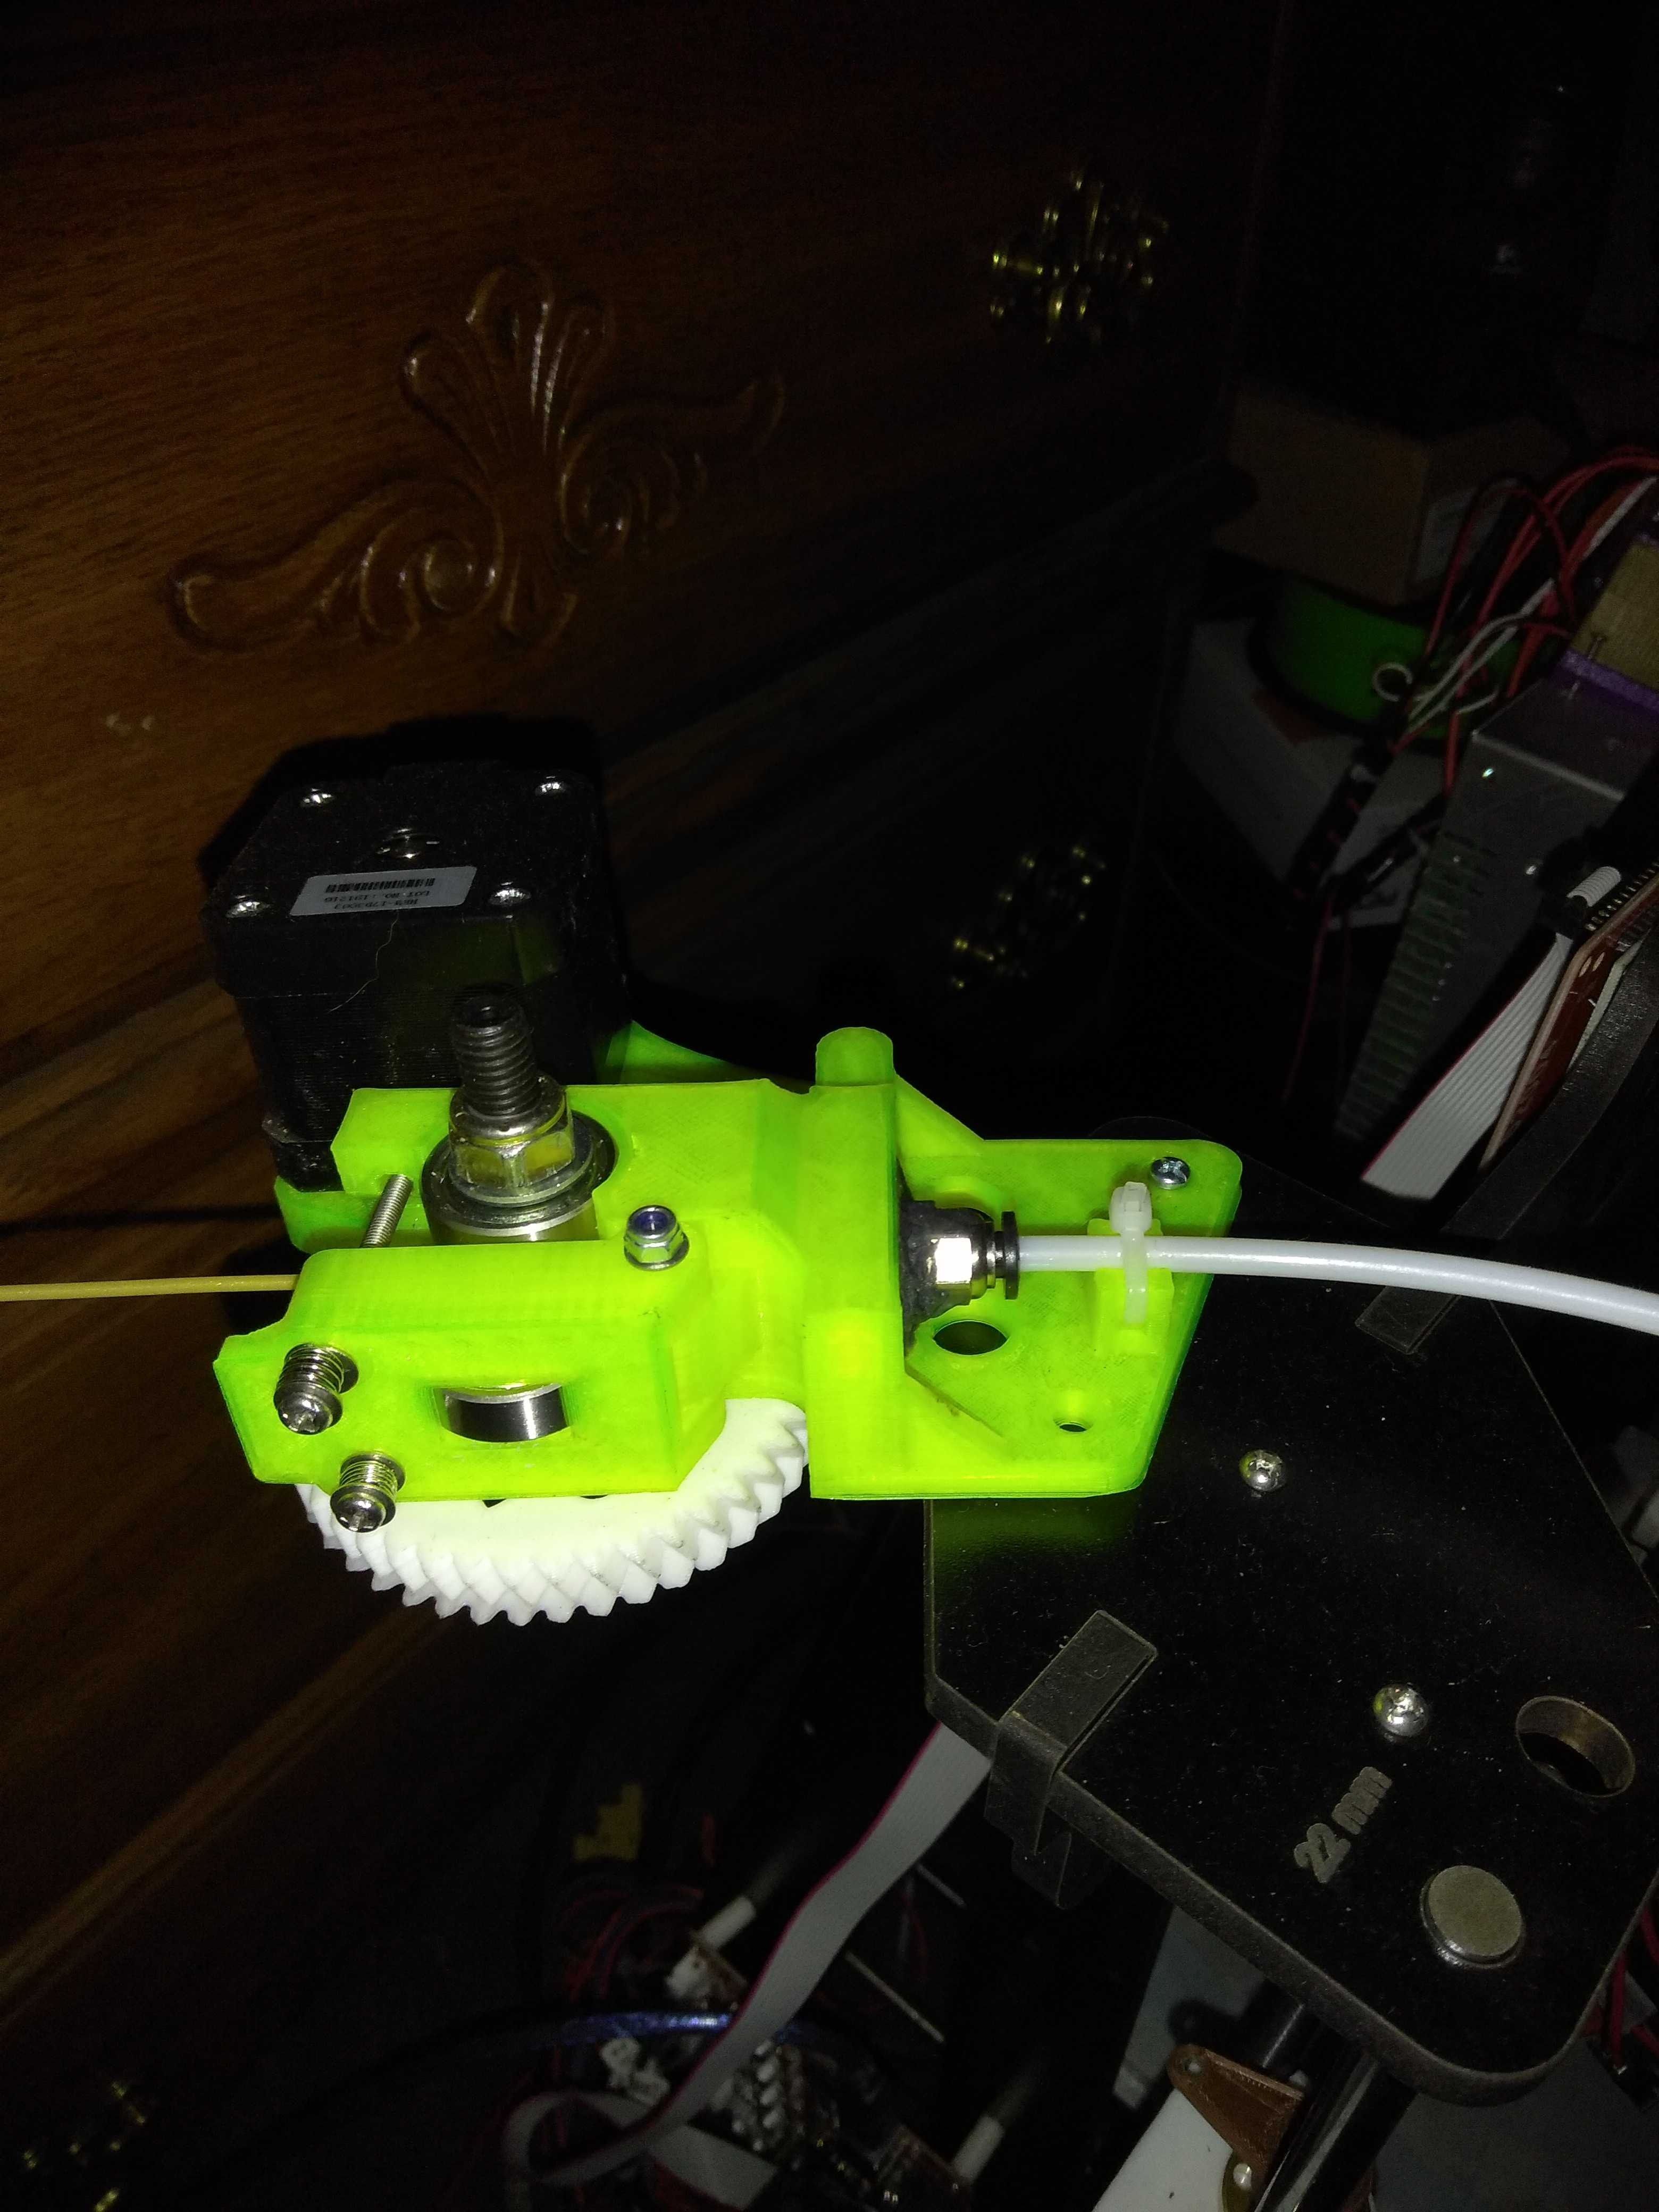
Wade Extruder
To the left, you will see a picture that is a 3D printed part with a large gear. This is called what is known as a Wade Extruder. The advantages of this system is very important. It allows you to extrude and print at a higher speed, and it increase the torque of any stepper motor. With it's steps calibrated effectively in your 3D printer's firmware, you get a constant push tension on the filament. The bolt that connects the main large gear is a hobbed bolt. This has a little groove where the filament goes through that is knurled so that it will push the filament down your PTFE tube, into and through your nozzle. There is a bearing that presses the filament down into the hobbed bolt. This part is adjustable to get your desired effect.
MOSFET
A MOSFET is a "metal-oxide semiconductor field-effect transistor". Used for switching or amplifying signals, this allows bypassing the 12 volt 30 amperes power supply from the controller board and directly to the hotend and heated bed. This is also recommended by many users, which is claimed to decrease fire hazards. Beyond not burning your house down, it also heats up your equiptment more effectively.