| A brief discussion of geometric dimensioning
and tolerancing practices.
 The practice of
geometric dimensioning and tolerancing is a scientific tool intended to reduce design,
manufacturing and inspection risk. Specifically, GD & T is a symbolic language for unambiguously
specifying functional limits of the amount of imperfection in geometry. Since there is
no such thing as a "perfect" part, a method must be in place so that the designers, manufacturers
and inspectors of the part are "all on the same page". GD & T, as it applies to metrology, allows
the functional product quality to be assessed. The language of GD & T involves the use
of special symbols as seen at the left.
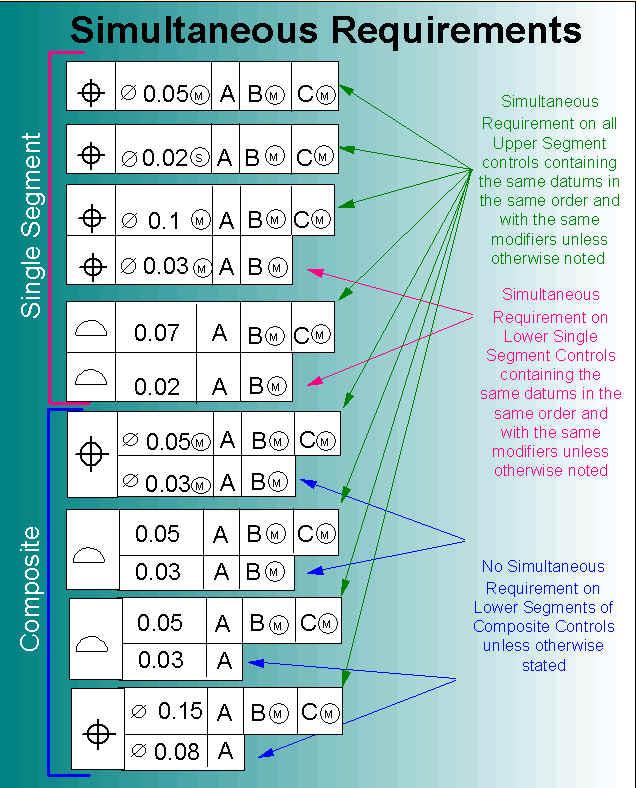 These symbols define a "datum structure" which spells out
the relationship between actual features (geometric elements such as planes, lines, circles and
points) and their mathematical counterpart--the only way a Coordinate Measuring Machine (CMM) can
deal with them. The intent in manufacturing, as well as inspection, is to limit the so-called
degrees of freedom that a part has. For example, a book is free to move about in space unless
constrained in some way (such as setting it on a table). When the book is resting on the table,
it cannot move up or down (that is, it is constrained in the "Z" direction). There are six degrees
of freedom: translation in X, Y and Z, as well as rotation about the X, Y or Z axes (some authors
refer to rotational degrees of freedom as roll, pitch and yaw). When manufacturing a part, all six
degrees of freedom must be fixed--or else the part will fly off the machine! In the same way, the
part's movement must be fixed when measuring on a CMM. These symbols define a "datum structure" which spells out
the relationship between actual features (geometric elements such as planes, lines, circles and
points) and their mathematical counterpart--the only way a Coordinate Measuring Machine (CMM) can
deal with them. The intent in manufacturing, as well as inspection, is to limit the so-called
degrees of freedom that a part has. For example, a book is free to move about in space unless
constrained in some way (such as setting it on a table). When the book is resting on the table,
it cannot move up or down (that is, it is constrained in the "Z" direction). There are six degrees
of freedom: translation in X, Y and Z, as well as rotation about the X, Y or Z axes (some authors
refer to rotational degrees of freedom as roll, pitch and yaw). When manufacturing a part, all six
degrees of freedom must be fixed--or else the part will fly off the machine! In the same way, the
part's movement must be fixed when measuring on a CMM.
|
